Building an Arduino-Based Weather Station with the Official Arduino Starter Kit
Creating a weather station with your Official Arduino Starter Kit is an engaging project that combines electronics, programming, and data analysis. By using sensors to monitor environmental conditions such as temperature, humidity, and atmospheric pressure, you can build a functional weather station that provides valuable data. In this post, we’ll guide you through the process of building an Arduino-based weather station.
Components Needed
- Arduino Uno
- DHT11 or DHT22 temperature and humidity sensor
- BMP180 or BMP280 barometric pressure sensor
- Breadboard
- Jumper wires
- Resistors (10k ohm for the DHT sensor, if needed)
- Optional: LCD display for visual output
Understanding the Sensors
- DHT11/DHT22 Sensor: These sensors measure temperature and humidity. The DHT22 is more accurate and has a wider range than the DHT11, but both are suitable for this project.
- BMP180/BMP280 Sensor: These sensors measure atmospheric pressure and can also provide altitude data. The BMP280 is an upgraded version of the BMP180 with better performance and accuracy.
Wiring the SensorsConnecting the DHT11/DHT22 Sensor
- Identify the Pins:
- The DHT sensor has four pins: VCC, GND, Data, and (optional) NC (Not Connected).
- Wiring:
- Connect the VCC pin to the 5V pin on the Arduino.
- Connect the GND pin to a GND pin on the Arduino.
- Connect the Data pin to digital pin 2 on the Arduino.
- If using the DHT22, place a 10k ohm pull-up resistor between the Data pin and VCC.
Connecting the BMP180/BMP280 Sensor
- Identify the Pins:
- The BMP sensor has four pins: VCC, GND, SCL, and SDA.
- Wiring:
- Connect the VCC pin to the 3.3V pin on the Arduino.
- Connect the GND pin to a GND pin on the Arduino.
- Connect the SCL pin to the SCL pin on the Arduino (A5 for older models).
- Connect the SDA pin to the SDA pin on the Arduino (A4 for older models).
Installing the Libraries
To use these sensors, you need to install the corresponding libraries in the Arduino IDE:
- Open the Library Manager: Go to Sketch > Include Library > Manage Libraries.
- Search and Install:
- For the DHT sensor, search for “DHT sensor library” and install the Adafruit DHT library.
- For the BMP sensor, search for “Adafruit BMP085 Unified” (which also supports BMP180) or “Adafruit BMP280” and install the library.
Writing the Code
Here’s an example sketch to read data from both sensors and display it in the Serial Monitor:
cpp
Copy code
#include <Adafruit_Sensor.h> #include <DHT.h> #include <DHT_U.h> #include <Wire.h> #include <Adafruit_BMP085_U.h>
#define DHTPIN 2 // Digital pin connected to the DHT sensor #define DHTTYPE DHT22 // DHT 22 (AM2302)
DHT dht(DHTPIN, DHTTYPE); Adafruit_BMP085_Unified bmp = Adafruit_BMP085_Unified(10085);
void setup() { Serial.begin(9600); dht.begin();
if (!bmp.begin()) { Serial.print(“Could not find a valid BMP085 sensor, check wiring!”); while (1); } }
void loop() { // Reading temperature and humidity from DHT sensor float h = dht.readHumidity(); float t = dht.readTemperature();
// Check if any reads failed and exit early (to try again). if (isnan(h) || isnan(t)) { Serial.println(“Failed to read from DHT sensor!”); return; }
// Reading pressure from BMP sensor sensors_event_t event; bmp.getEvent(&event);
if (event.pressure) { float seaLevelPressure = SENSORS_PRESSURE_SEALEVELHPA; float temperature; bmp.getTemperature(&temperature);
Serial.print(“Temperature: “); Serial.print(t); Serial.print(” °C, Humidity: “); Serial.print(h); Serial.print(” %, Pressure: “); Serial.print(event.pressure); Serial.print(” hPa, Altitude: “); Serial.print(bmp.pressureToAltitude(seaLevelPressure, event.pressure)); Serial.println(” m”); } else { Serial.println(“Sensor error”); }
delay(2000); }
Uploading and Running the Code
- Connect your Arduino: Use a USB cable to connect your Arduino to your computer.
- Open the Arduino IDE: Launch the Arduino IDE on your computer.
- Upload the Code: Click the upload button to transfer the code to your Arduino.
- Open the Serial Monitor: Open the Serial Monitor by clicking the magnifying glass icon or going to Tools > Serial Monitor.
You should see the temperature, humidity, pressure, and altitude readings displayed in the Serial Monitor, updating every two seconds.
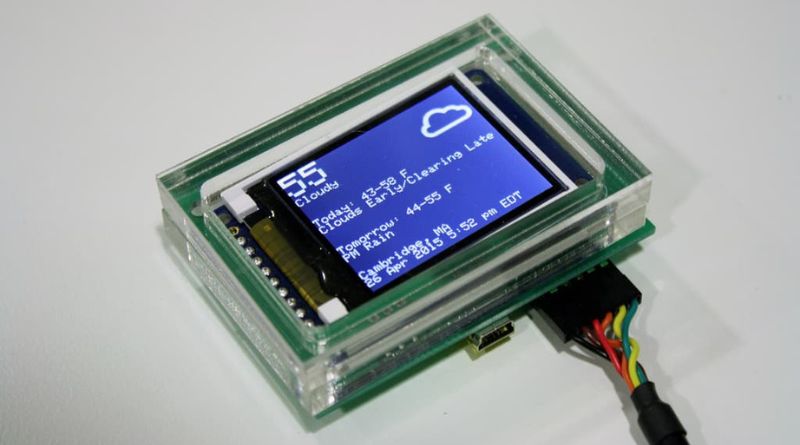
Displaying Data on an LCD
To make your weather station more user-friendly, you can display the sensor data on an LCD. The Official Arduino Starter Kit includes an LCD display, which you can connect and program as follows:
- Connect the LCD: Follow the instructions in the kit to connect the LCD to your Arduino.
- Modify the Code: Add the LiquidCrystal library and code to display data on the LCD.
cpp
Copy code
#include <LiquidCrystal.h> #include <Adafruit_Sensor.h> #include <DHT.h> #include <DHT_U.h> #include <Wire.h> #include <Adafruit_BMP085_U.h>
#define DHTPIN 2 #define DHTTYPE DHT22
DHT dht(DHTPIN, DHTTYPE); Adafruit_BMP085_Unified bmp = Adafruit_BMP085_Unified(10085); LiquidCrystal lcd(12, 11, 5, 4, 3, 2);
void setup() { Serial.begin(9600); dht.begin(); lcd.begin(16, 2);
if (!bmp.begin()) { Serial.print(“Could not find a valid BMP085 sensor, check wiring!”); while (1); } }
void loop() { float h = dht.readHumidity(); float t = dht.readTemperature();
if (isnan(h) || isnan(t)) { Serial.println(“Failed to read from DHT sensor!”); return; }
sensors_event_t event; bmp.getEvent(&event);
if (event.pressure) { float seaLevelPressure = SENSORS_PRESSURE_SEALEVELHPA; float temperature; bmp.getTemperature(&temperature);
lcd.setCursor(0, 0); lcd.print(“Temp: “); lcd.print(t); lcd.print(“C”);
lcd.setCursor(0, 1); lcd.print(“Humidity: “); lcd.print(h); lcd.print(“%”);
delay(2000);
lcd.setCursor(0, 0); lcd.print(“Pressure: “); lcd.print(event.pressure); lcd.print(“hPa”);
lcd.setCursor(0, 1); lcd.print(“Altitude: “); lcd.print(bmp.pressureToAltitude(seaLevelPressure, event.pressure)); lcd.print(“m”); }
delay(2000); }
Conclusion
Building an Arduino-based weather station with the Official Arduino Starter Kit is a rewarding project that teaches you about sensors, data collection, and display techniques. By following this guide, you’ll be able to monitor environmental conditions in real-time and present the data in a user-friendly way. As you gain experience, you can expand your weather station with additional sensors and features, making it a comprehensive and sophisticated tool for weather monitoring.